Maze
|
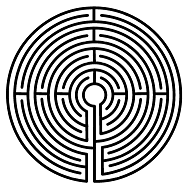
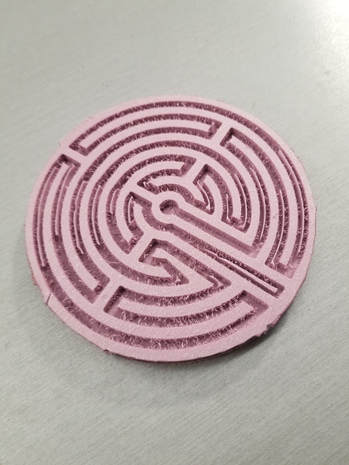
We were told to create a maze for a ball to travel through. When I think of mazes, I think of circular labyrinths like the one a the right. So I took inspiration from it to create my maze.
|
|
Illustrator
|
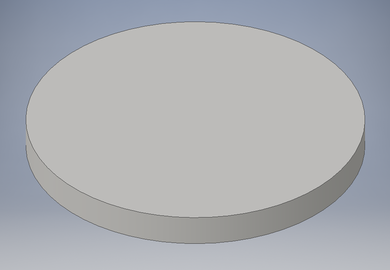
First I made a cylinder with a height of 0.75 inches and a diameter of 8 inches.
|
|
|
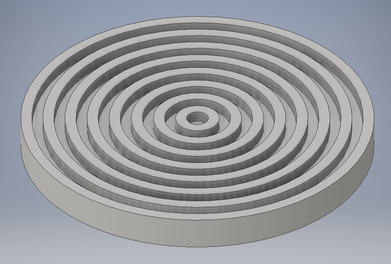
Then I made circular channels that were 0.25 inches wide and deep.
|
|
|
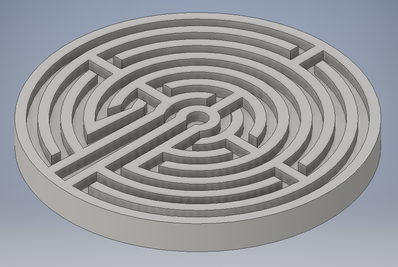
Then I added the walls and channels that radiated out of the center.
|
|
fusion 360
|
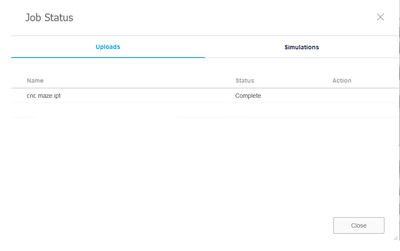
First I uploaded my file to Fusion 360.
|
|
|
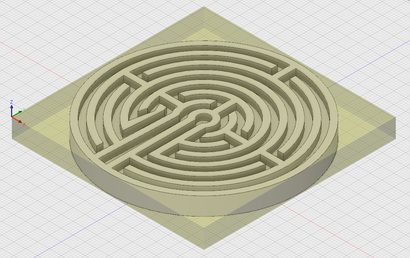
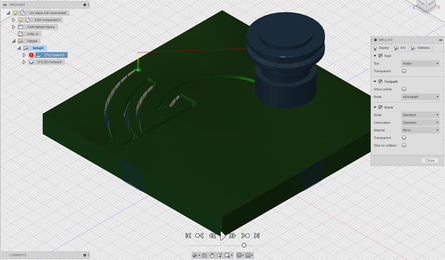
I set it to CAM and went to setup to change how the file was orientated.
|
|
|
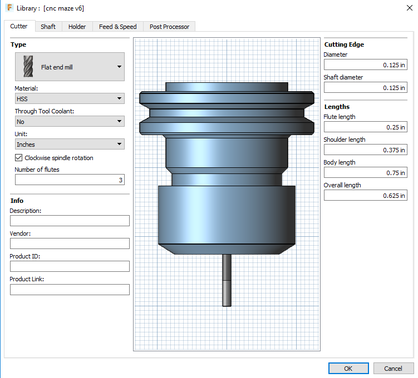
Then I selected 3D Contour. I set the tool to be a flat end, and 0.25 in. in diameter.
|
|
|
I set the Cutting Feed Rate to 70 in/min. I changed the Passes settings so Max. Step down is 0.25 in. and Stock to Leave 0 in.
|
|
|
The I selected 2D Adaptive Clearing and clicked the top and bottom edges of the outside.
|
|
|
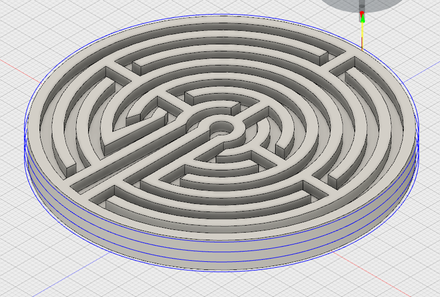
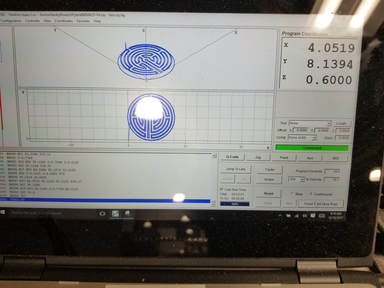
Then clicked the setup that I made earlier and then pushed simulate to see if it will cut the maze out correctly.
|
|
|
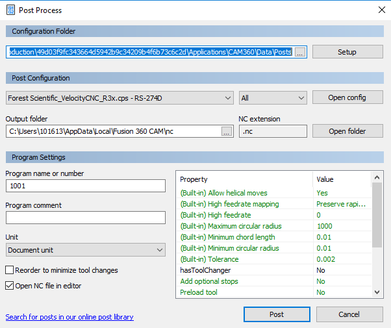
Then when it was cutting out correctly I clicked Post Process. Selected ... . Then I clicked post at the bottom and saved it to my H-drive.
|
|
Router
|
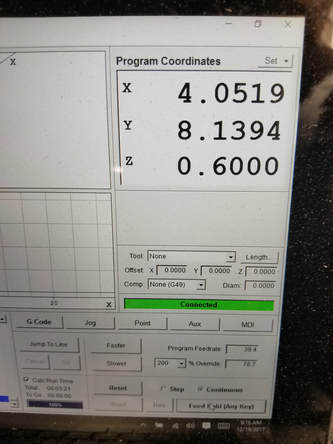
I uploaded the file to the computer.
|
|
|
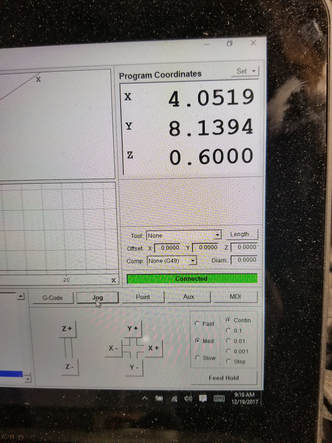
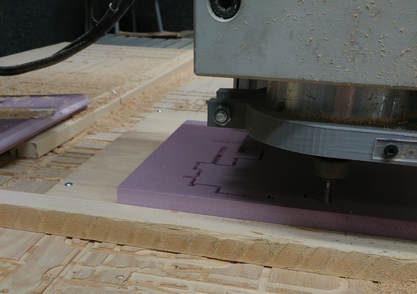
I got one of the precut pieces of material and put double sided tape on it and put it on the machine. Then I used the arrows to move the bit to where to origin is set up on my file.
|
|
|
Then I zeroed X, Y, and Z.
|
|
|
And started the router.
|
|
|
When the router was done I pulled it off and took the tape off. And it was done except for the little pieces that I have to clean out before I let the ball roll through.
|
|
